
Uncategorized
Blend Like a Boss: Gradient Tricks with Drills
Oct
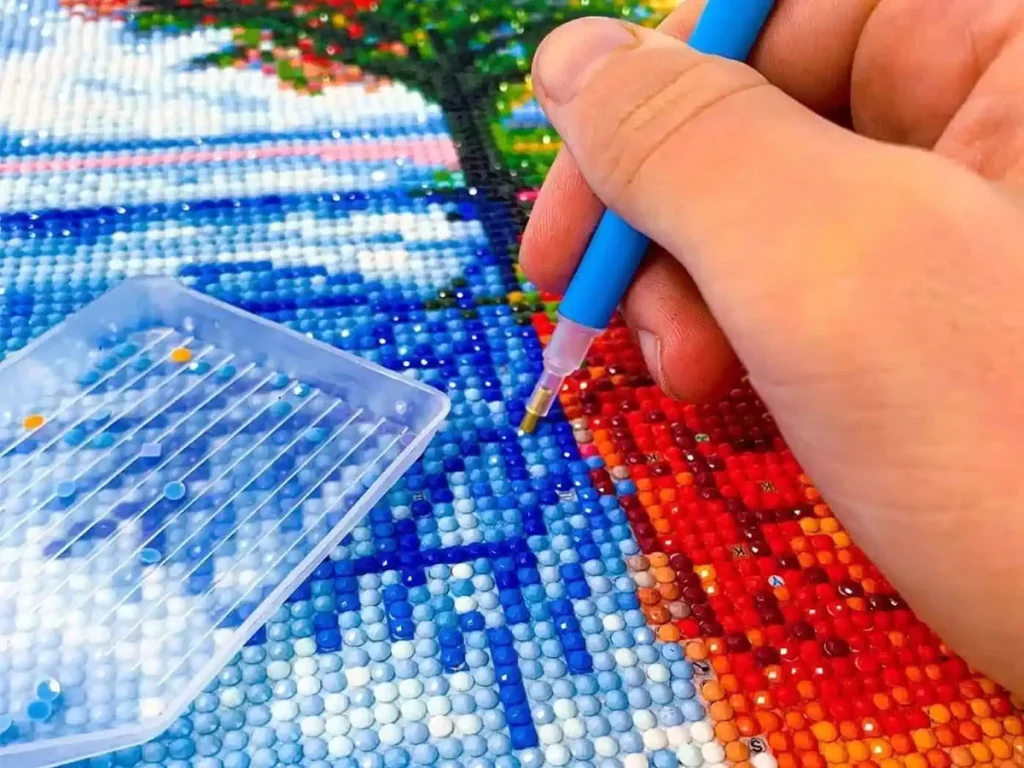
In diamond art, smooth transitions are a favorite in diamond painting. Gradients change flat color into depth, light, and movement. They add depth, draw the viewer’s eye, and bring scenes to life. As flowers come to life and the sky turns into sunsets, even the simplest kits become more interesting. This guide will help you plan your mixes, pick colors with confidence, and set up drills like a pro. We’ll talk about ways to save time, like feathering.
Start with a Simple Gradient Map
Choose two to four colors that are next to each other. Think about light, medium, dark, and medium-dark. On a piece of scratch paper, write down a short plan. Pay attention to where the light and shadows are. Use washi tape to stick small lines of section onto the canvas. These guide rails keep the blend stable without limiting you.
Build a Palette That Behaves
Choose colors that are close to the same temperature. Cool to cool, warm to warm. If you’re not sure, be careful while you climb the DMC ladder. If a jump seems too sudden, put in a bridging shade. Add one “spark” color to the mix to make it come to life. Use it only on borders or highlights.
Method 1: Feathering (forgiving and soft)
From your light color, work your way inside your thinking. Put a staggered edge instead of a solid wall. Like the teeth on a zipper, step the colors into one another. Bounce back and forth for a few rows. Don’t make the edges straight, keep them jagged. To the eye, such little steps look like they are going away.
Method 2: Clean and Controlled Checkerboarding
You should put your two meeting colors on a checkerboard. After that, fill in the empty squares. This keeps the density the same and locks the spacing. Use checkerboarding when you need to make shapes, like word halos or clear cloud lines, clear. It makes transitions smooth and clear.
Method 3: Blends with High Detail or Micro-Ombre Lines
Use two light drills, two mid drills, and one bridge shade drill to make narrow stripes in tight spaces. Repeat the order for each row, but change it up a little bit.The variation stops banding. There is a micro-ombre gloss on hair strands, water ripples, and little petals.
Drill Shapes, Color Blocks, and Confetti
Color blocking is a quick way to get results, so use it with feathering and a multi-placer. For the confetti, use a micro-ombre. It takes longer to blend, but it looks great. To evenly spread the mix, just use three colors of active trays and change them often. Rounds help you move faster by naturally softening mixes. Use checkerboarding and micro-ombré because squares give you very fine detail. If a transition still sticks out, make the step size smaller or add a bridge shade.
Ghost Rows and Subtle Sparkle
To soften lines without changing the design, make a ghost row where two sections meet by lining up every other drill along the edge of your bridge shade. Then, use either neighbor color to fill in any gaps. To make highlights stand out more, put ABs on the lightest third of a gradient. Don’t put metallics all over the fields; only put them on the edges. Keep crystals for things like jewelry points, dew drops, or star tips. Let the specialty murmur and the matte drills carry the mix.
Tools and Pacing for Smooth Blends
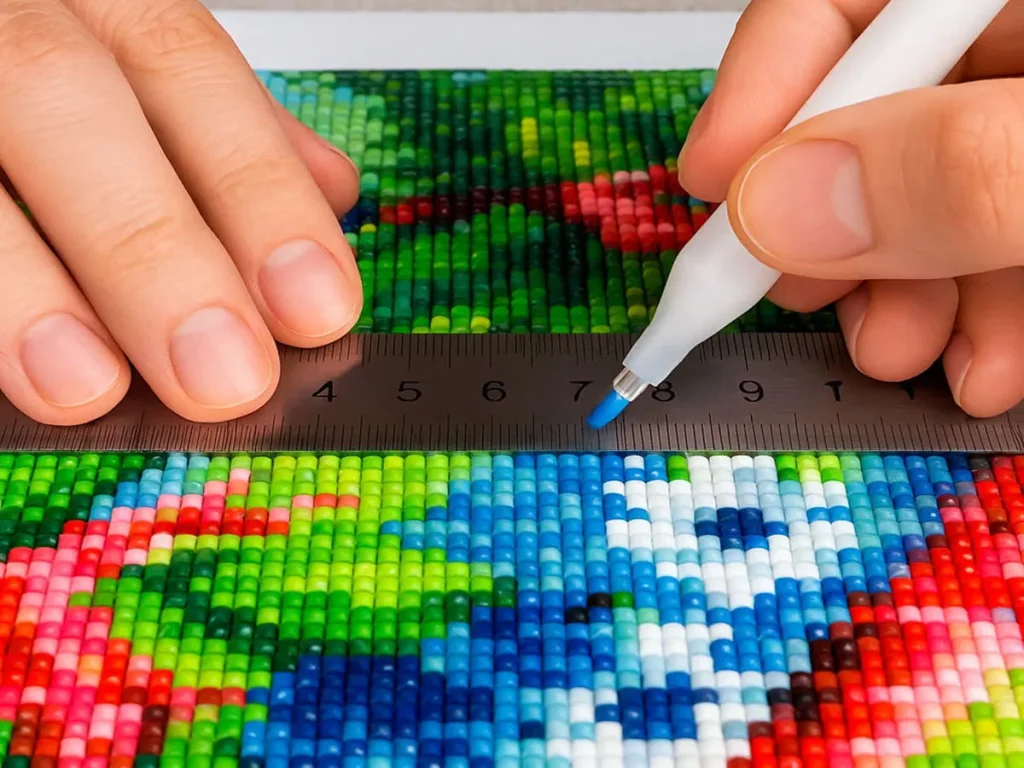
A light pad makes pale symbols easier to see, and you may see banding in good light before it sticks. Get two pens ready (one for edges and one for fields), label the trays with their DMC numbers, keep tweezers close by to nudge corners, and use a soft brush to get rid of static without making a mess. To keep your eye honest, do rapid passes of 10 to fifteen minutes in every zone. You should also walk back a lot, even if you have to squint from two meters away. If mush gets in, use a thin checkerboard to fix the structure. If a step shouts, add a small bridging sprinkle.
Rescue Moves and Practice Drills
For a rough step, spread five to seven bridge drills over the seam. When a blend gets too dark, use the mid shade to make a backbone line. If the color jump seem too big, use a neighbor from the DMC ladder. If the rows start to go off track, lightly tap the edge with a metal ruler and start over. For practice, cut a small piece off the edge of an extra canvas. Then write three boxes: a chrome highlight, a petal curve, and a sky fade. Set a timer, write down the technique that feels the best, and then use that muscle memory for your real work the next day.
Photo Tips and Smart Shopping
When photographing close to a window with the lights off, tilt the canvas a little bit to catch a gentle glitter. Take one full shot, two close crops, and stay away from strong filters. Real color will help you judge future blends. Choose supply packs with legible printing on the symbols and tight shade ladders. Get a range of bridge tones in warm grays, cold blues, or rosy neutrals. Add a small tray set, a thin multi-placer, and a comfort grip to make swaps go faster.
Light Conclusion
Gradients give diamond art its air. Map a simple path, pick friendly neighbors, and accumulate small triumphs. Use feather, checkerboard, and micro-ombré as needed. with a little effort, your blends will look natural and your canvases will shine.